Embark on a journey into the world of DIY pergola brackets, where creativity meets functionality. This comprehensive guide, crafted with meticulous care, will empower you to design, install, and maintain stunning pergolas that enhance your outdoor living spaces.
From understanding the types and materials of pergola brackets to mastering installation techniques and troubleshooting common problems, this guide is your ultimate resource for creating beautiful and durable pergolas that will elevate your backyard experience.
Pergola Brackets Overview
Pergola brackets are essential components for constructing sturdy and aesthetically pleasing pergolas. They provide structural support and stability to the pergola frame, ensuring its durability and longevity.
Pergola brackets come in various types, each designed to meet specific requirements. Common types include:
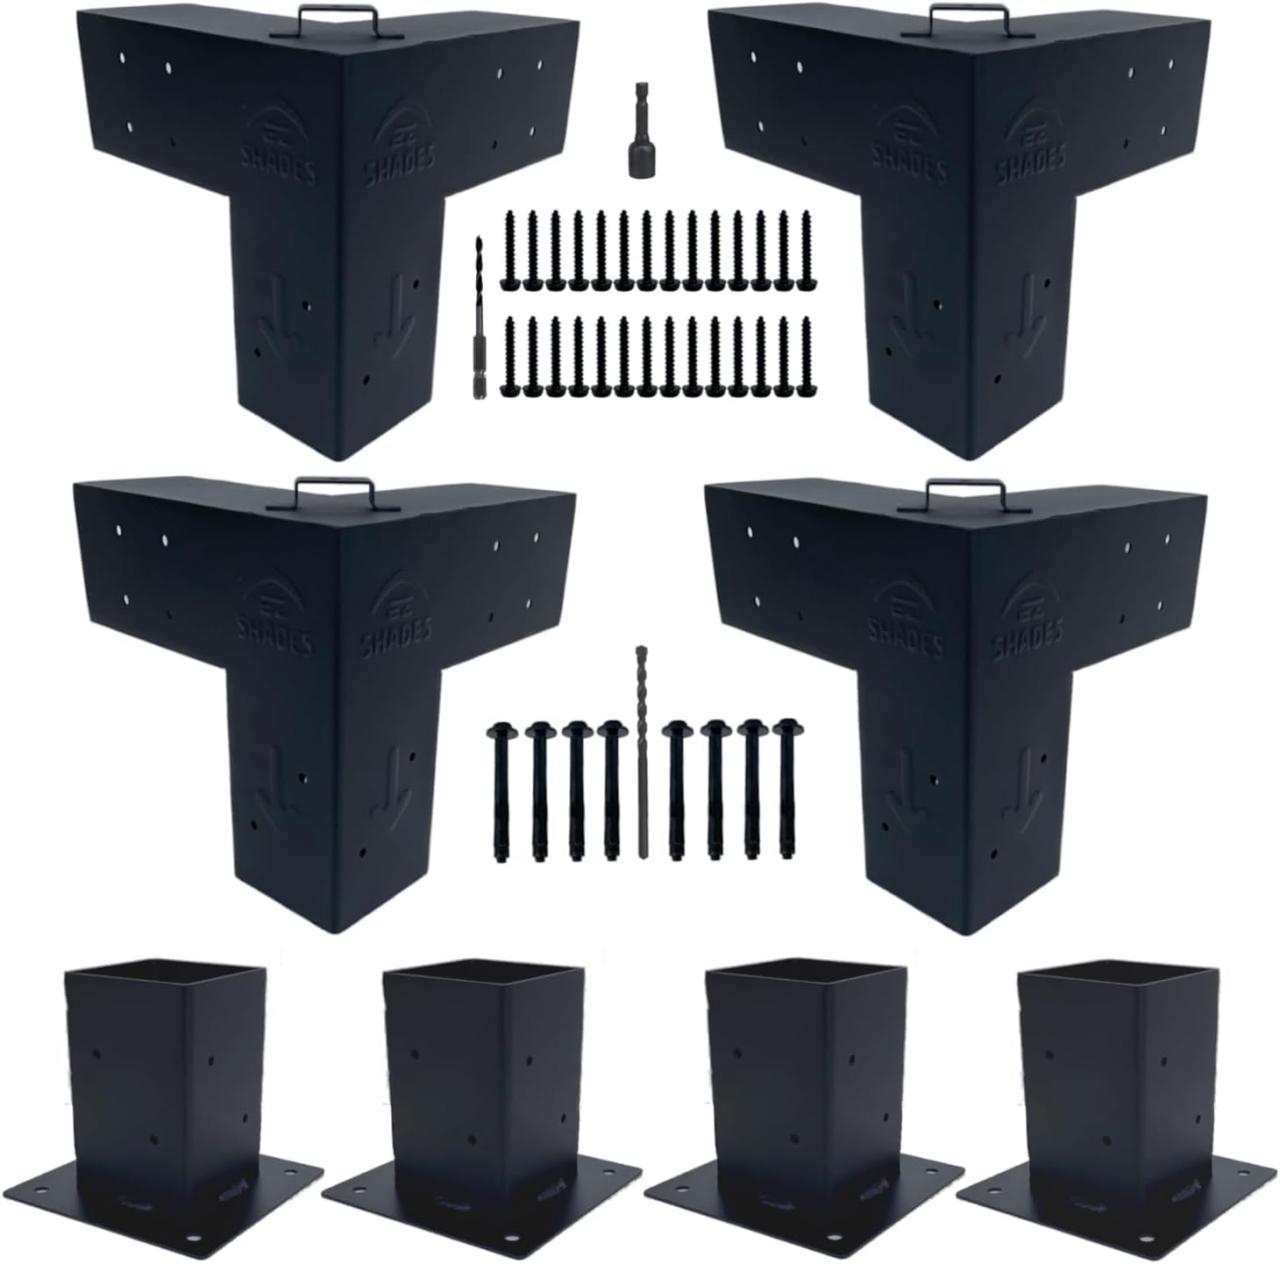
– L-shaped brackets: These are simple and versatile brackets that are suitable for most pergola designs. They are easy to install and provide adequate support.
– T-shaped brackets: T-shaped brackets offer additional strength and stability, making them ideal for larger pergolas or those subject to heavy loads.
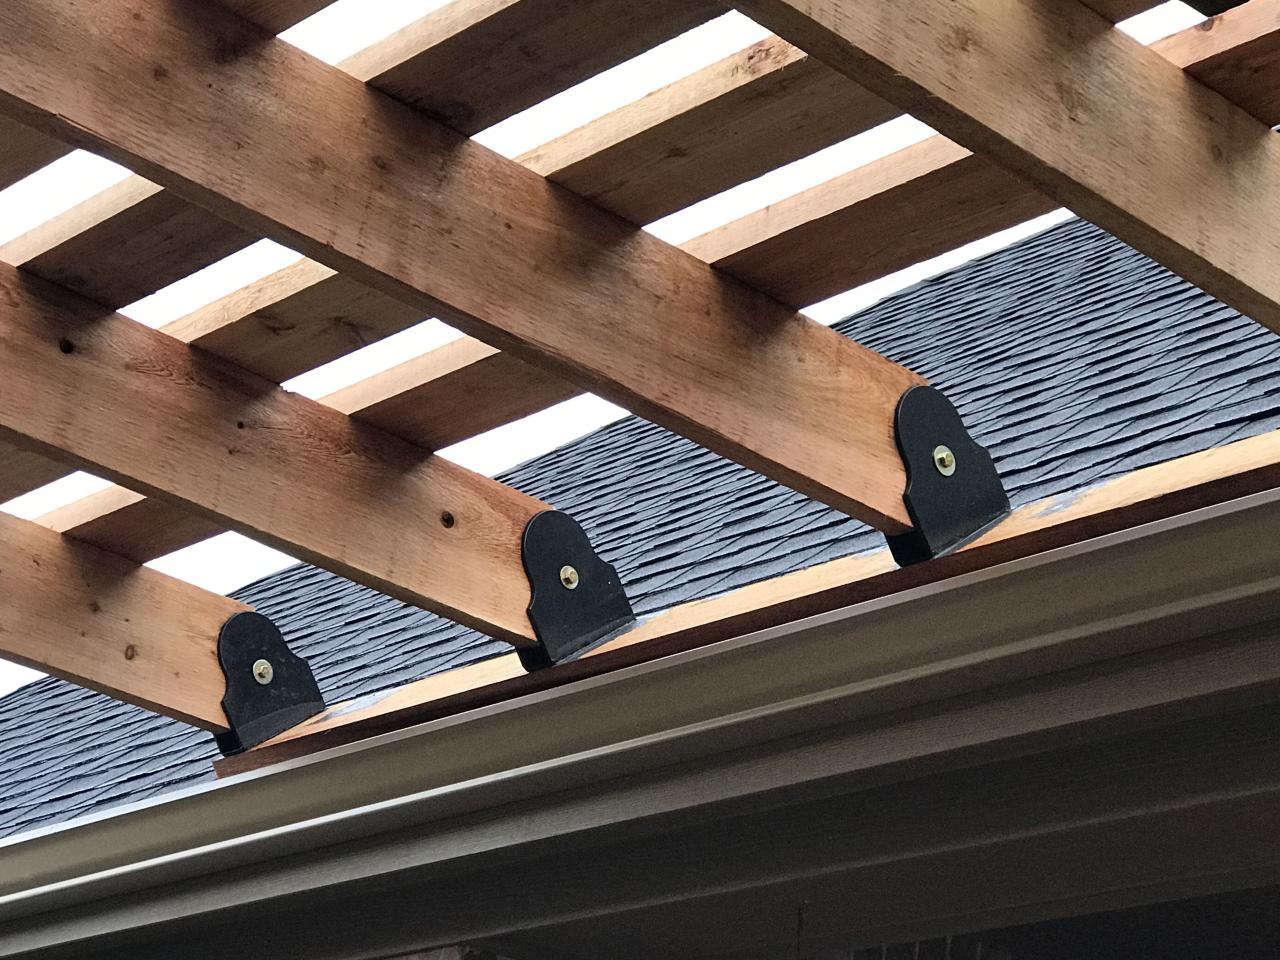
– Post-to-beam brackets: These brackets are specifically designed to connect pergola posts to beams, providing a secure and stable connection.
Pergola brackets are typically made from durable materials such as galvanized steel, stainless steel, or aluminum. These materials resist corrosion and rust, ensuring the brackets’ longevity and performance in outdoor environments.
DIY Pergola Bracket Designs
Pergola brackets are essential components for creating sturdy and aesthetically pleasing pergolas. Designing and planning the brackets require careful consideration to ensure they meet the specific requirements of your project. Here’s a guide to help you navigate the process:
Factors to Consider When Selecting a Bracket Design
When selecting a bracket design, consider the following factors:
- Load capacity: Determine the weight the brackets will need to support, considering the size and materials of the pergola.
- Material: Choose a material that is durable, weather-resistant, and compatible with the pergola’s design.
- Style: Select a bracket design that complements the overall aesthetics of the pergola and your outdoor space.
- Installation method: Consider the ease of installation and the tools required for mounting the brackets.
Tips and Techniques for Creating Custom Pergola Brackets
If you’re looking for a more personalized touch, you can create custom pergola brackets. Here are some tips:
- Use high-quality materials: Opt for materials like galvanized steel or aluminum for durability and corrosion resistance.
- Consider the angle of the brackets: The angle of the brackets affects the strength and stability of the pergola. Consult a professional if needed.
- Reinforce the joints: Ensure the joints between the brackets and the pergola are reinforced with bolts or screws to enhance load-bearing capacity.
- Test the brackets: Before installing the brackets, test their strength by applying a load equivalent to the expected weight.
Methods for Installing Pergola Brackets
Installing pergola brackets requires careful planning and precise execution to ensure the stability and longevity of your pergola structure. By following the steps Artikeld below, you can securely install pergola brackets and create a sturdy foundation for your outdoor oasis.
Before starting, gather the necessary tools and materials:
- Pergola brackets
- Lag screws
- Drill
- Screwdriver
- Level
- Measuring tape
- Safety glasses
- Gloves
For safety, wear gloves and safety glasses throughout the installation process.
Step 1: Determine Bracket Placement
Using a level, mark the desired height and location of the pergola brackets on the posts. Ensure the brackets are aligned horizontally and vertically for proper support.
When building a pergola on your deck, you’ll need to use DIY pergola brackets to secure the beams to the deck surface. These brackets are designed to withstand the weight of the pergola and keep it securely in place. Once you’ve installed the brackets, you can follow the steps in this guide to complete your DIY pergola on deck: diy pergola on deck.
The guide provides detailed instructions and helpful tips to help you build a beautiful and functional pergola that will enhance your outdoor space. Once you’ve finished building your pergola, you can enjoy the shade and comfort it provides for years to come.
Step 2: Drill Pilot Holes
Using a drill, create pilot holes slightly smaller than the diameter of the lag screws. This will prevent the wood from splitting when the screws are driven in.
Step 3: Secure Brackets
Position the brackets over the pilot holes and secure them with lag screws. Use a screwdriver to tighten the screws until they are snug against the wood.
Step 4: Check Level and Alignment
Re-check the level and alignment of the brackets using a level. Make any necessary adjustments to ensure they are level and parallel to each other.
Step 5: Install Crossbeams
Once the brackets are securely installed, place the crossbeams on top of the brackets and secure them with additional lag screws.
Pergola Bracket Maintenance and Repair
Neglecting pergola bracket maintenance can lead to costly repairs or even safety hazards. Regular inspections and prompt repairs are crucial for ensuring the structural integrity and longevity of your pergola.
Inspect your pergola brackets regularly for any signs of damage, such as rust, corrosion, cracks, or loose connections. Pay particular attention to areas exposed to moisture or extreme weather conditions.
Repairing Pergola Brackets
- Tightening Loose Connections: If you notice loose bolts or screws, tighten them immediately using a wrench or screwdriver.
- Repairing Rust or Corrosion: Remove rust or corrosion using a wire brush or sandpaper. Apply a rust-resistant primer and paint to protect the bracket.
- Replacing Damaged Brackets: If a bracket is severely damaged or cracked, it’s best to replace it. Remove the old bracket and install a new one using the same type of fasteners.
Preventing Future Issues
To prevent future issues, consider the following:
- Regular Cleaning: Clean your pergola brackets regularly to remove dirt, debris, and moisture that can contribute to corrosion.
- Proper Drainage: Ensure that water doesn’t pool around the pergola brackets. Install drainage channels or slopes to direct water away.
- Protective Coatings: Apply a protective coating, such as paint or sealant, to the brackets to prevent rust and corrosion.
Pergola Bracket Designs Gallery
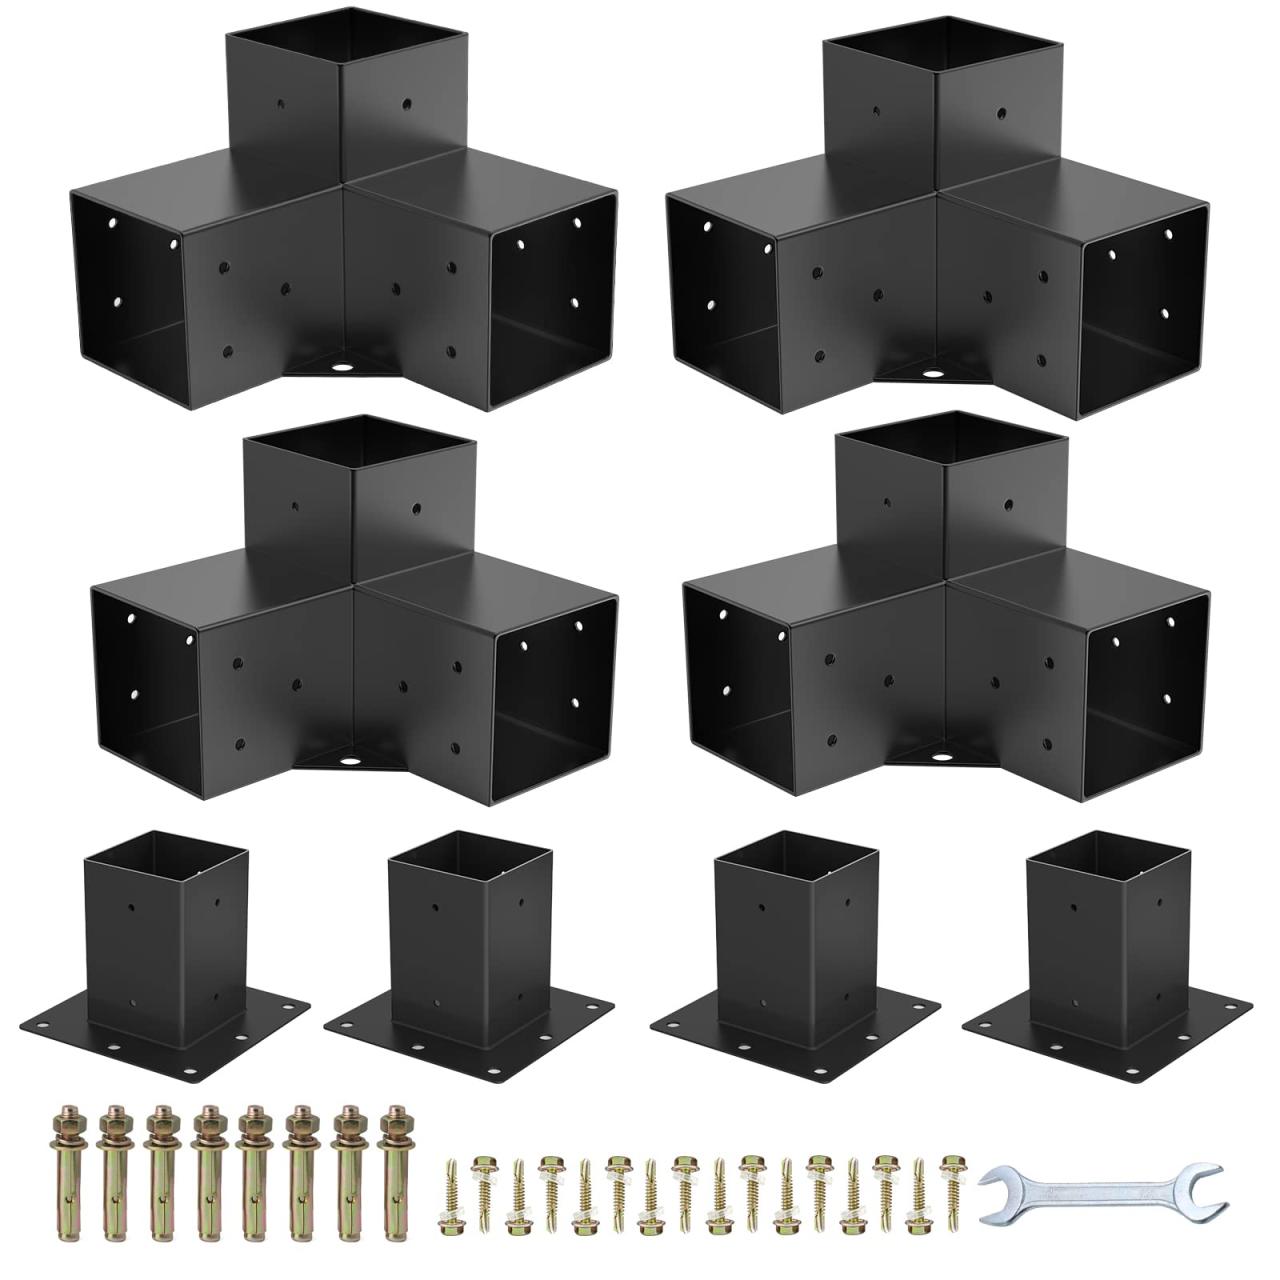
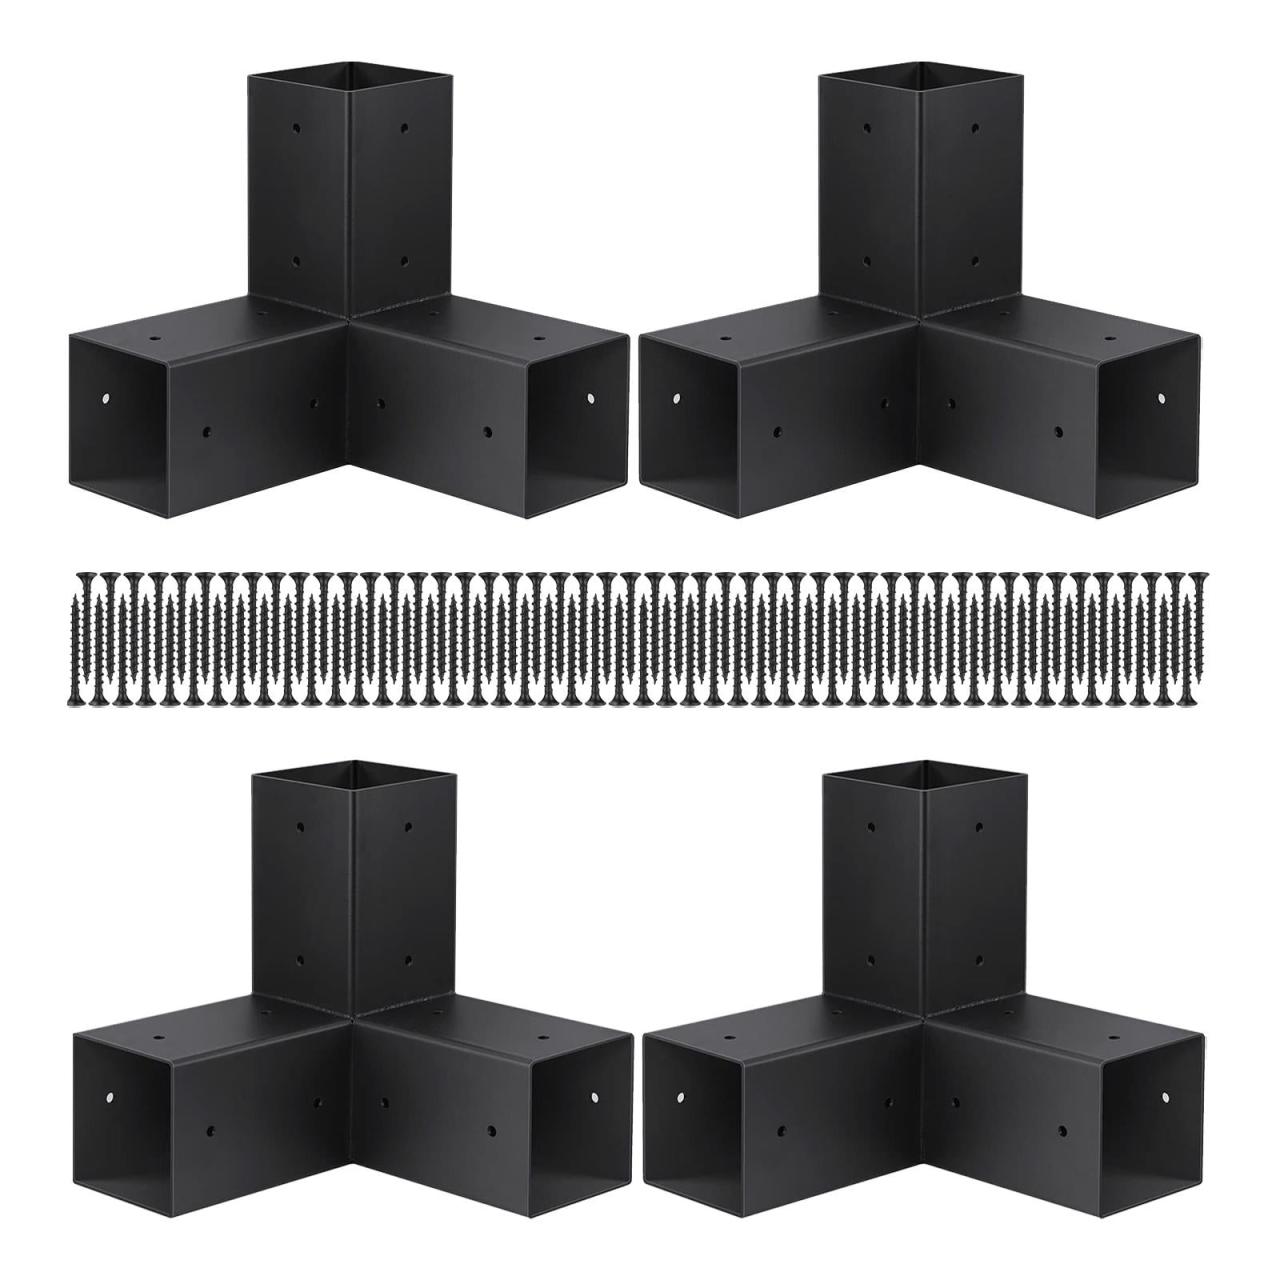
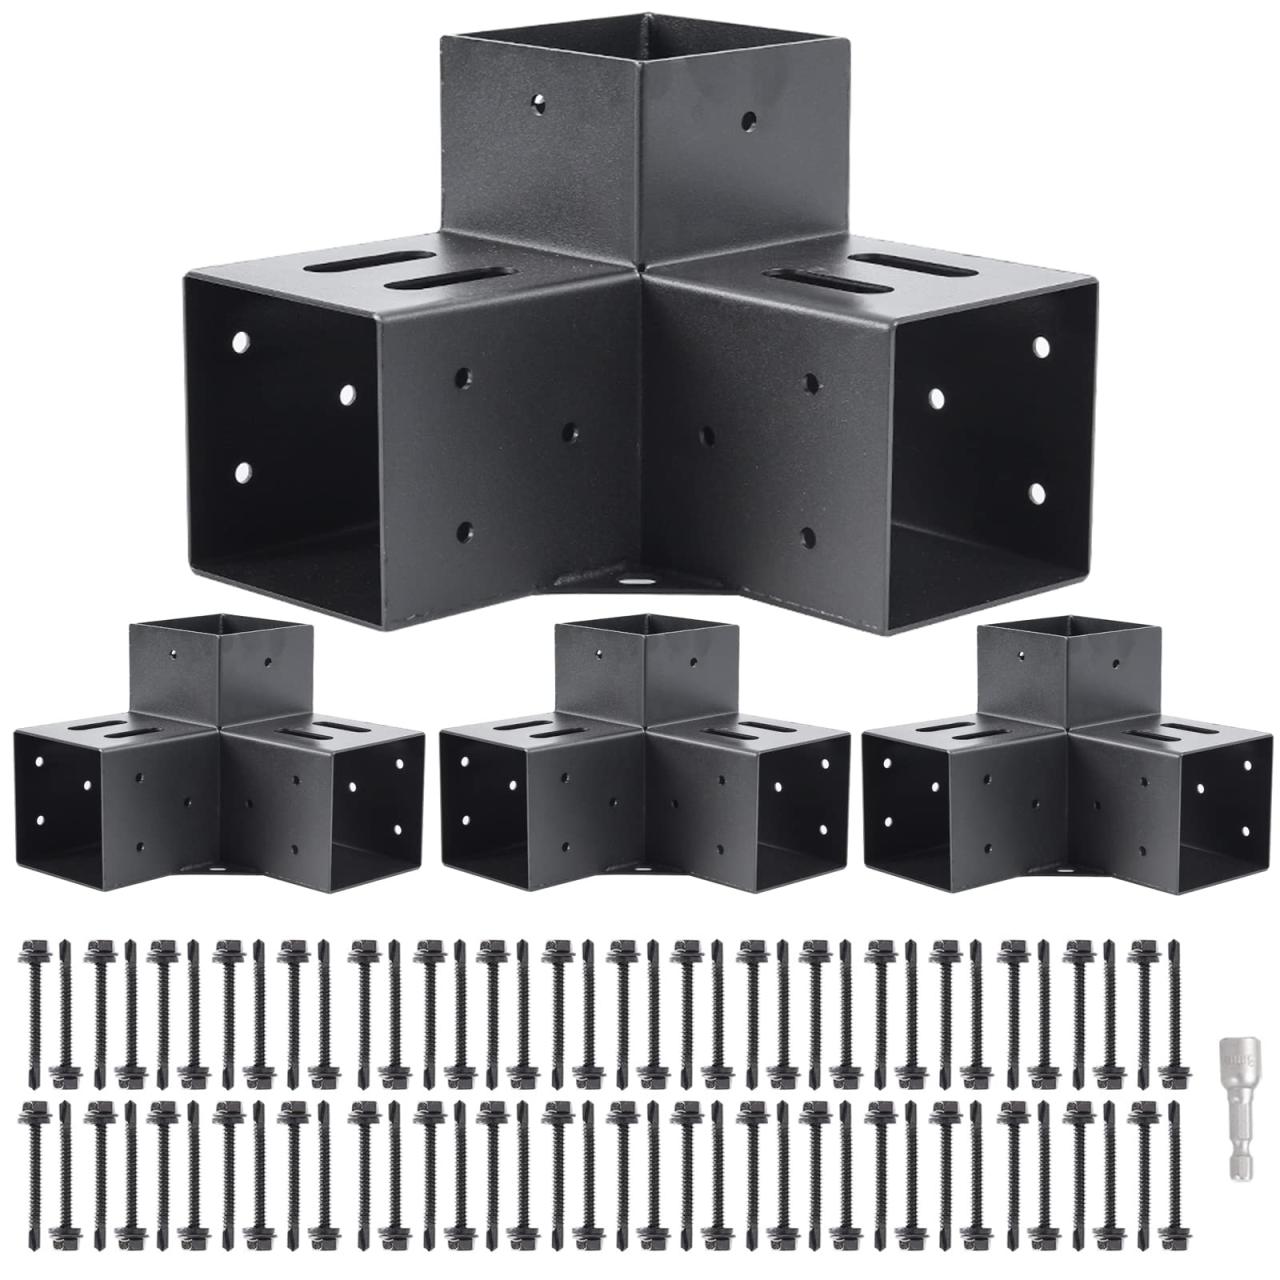
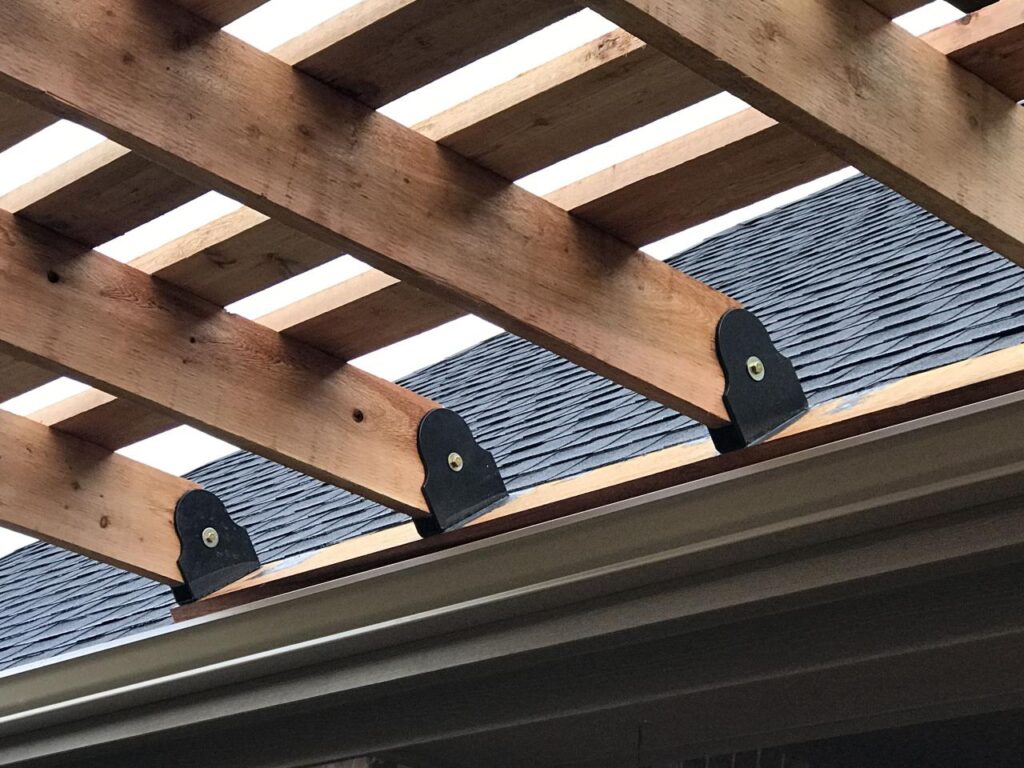
Explore a diverse gallery of pergola bracket designs that cater to various styles and applications. From classic to contemporary, each design offers unique aesthetics and functionality.
Materials
Pergola brackets come in a range of materials, each with its own advantages and aesthetic appeal:
- Wood: Natural and versatile, providing warmth and a rustic charm.
- Metal: Durable and modern, offering sleek lines and a wide range of finishes.
- Composite: Low-maintenance and weather-resistant, combining the benefits of wood and metal.
Styles
Pergola bracket designs encompass a spectrum of styles, from traditional to contemporary:
- Traditional: Ornate brackets with intricate carvings and decorative details.
- Modern: Clean lines and minimalist designs, emphasizing functionality.
- Industrial: Exposed metal brackets with a raw and rugged aesthetic.
- Rustic: Brackets with natural wood grain and distressed finishes.
Applications
Pergola brackets find application in various outdoor structures:
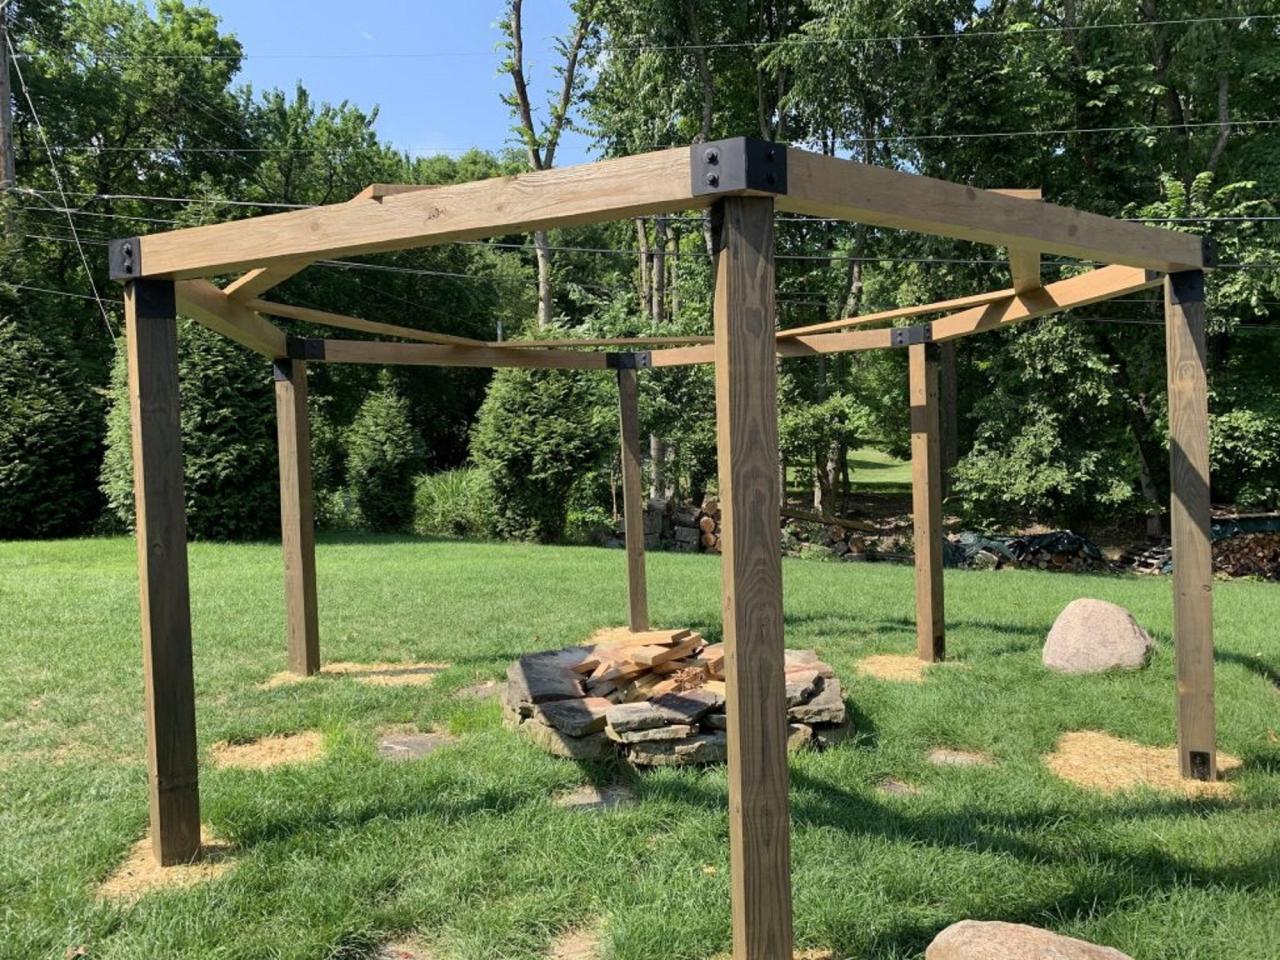
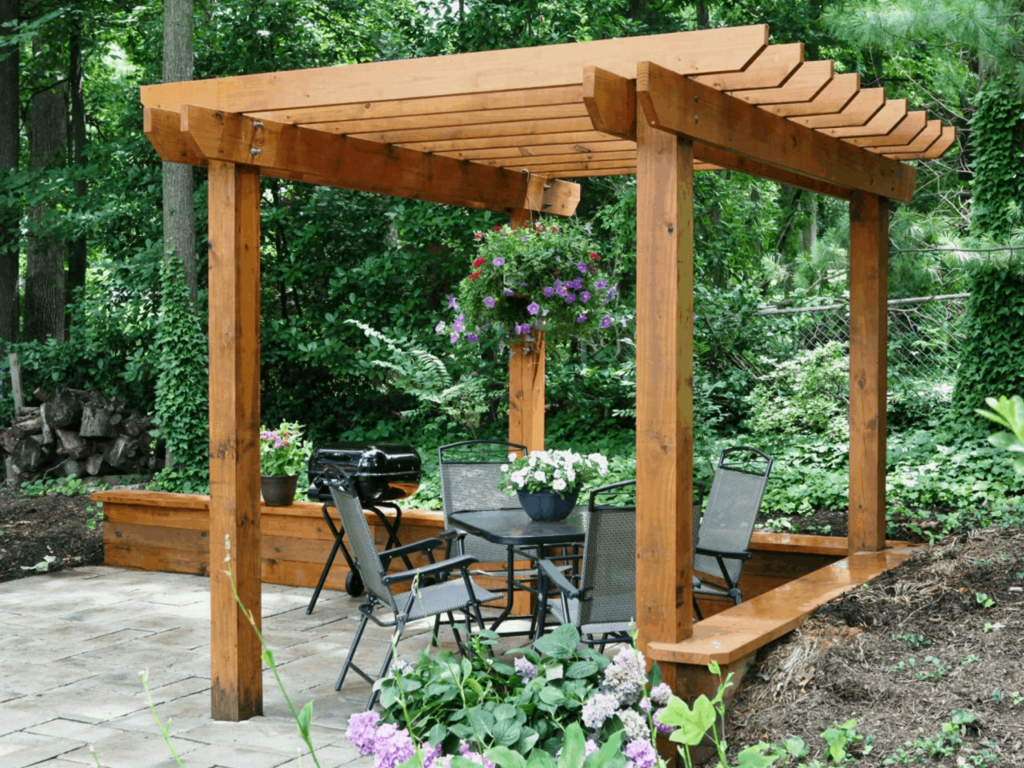
- Pergolas: Providing support and a decorative touch to pergolas.
- Arbors: Enhancing the entrance to gardens and walkways.
- Trellises: Supporting climbing plants and creating privacy screens.
- Gazebos: Offering a sturdy base and architectural detail to gazebos.
Troubleshooting Common Pergola Bracket Problems
Pergola brackets are essential for providing support and stability to pergolas. However, they can sometimes encounter problems that affect their performance and aesthetics. Here are some common pergola bracket problems and solutions to help you address them effectively:
Loose or Wobbly Brackets, Diy pergola brackets
- Tighten bolts and screws: Ensure all bolts and screws connecting the brackets to the pergola and posts are properly tightened.
- Inspect for damaged brackets: Replace any brackets that are bent, cracked, or otherwise damaged.
- Use shims: Place shims between the brackets and posts to fill any gaps and improve stability.
Rust and Corrosion
- Clean and apply anti-rust treatment: Regularly clean the brackets to remove dirt and debris. Apply an anti-rust treatment to protect them from corrosion.
- Replace rusted brackets: If the brackets are severely rusted, they may need to be replaced.
- Use stainless steel brackets: Consider using stainless steel brackets, which are more resistant to rust and corrosion.
Uneven or Misaligned Brackets
- Check measurements: Ensure that the brackets are positioned correctly and at the same height on both sides.
- Adjust brackets: Use a level to align the brackets and adjust them accordingly.
- Reinstall brackets: If necessary, remove and reinstall the brackets to ensure proper alignment.
Cracked or Broken Brackets
- Replace damaged brackets: Replace any cracked or broken brackets immediately to prevent further damage.
- Inspect for overload: Ensure that the pergola is not overloaded, which can put excessive stress on the brackets.
- Use stronger brackets: Consider using heavier-duty brackets if the existing ones are not strong enough.
Innovative Pergola Bracket Solutions: Diy Pergola Brackets
Pergola brackets are a crucial element in constructing a sturdy and aesthetically pleasing pergola. In recent years, innovative pergola bracket solutions have emerged, pushing the boundaries of design and functionality. These solutions offer unique advantages, opening up new possibilities for pergola enthusiasts.
One innovative bracket solution is the hidden bracket. These brackets are designed to be concealed within the pergola’s structure, creating a seamless and minimalist look. Hidden brackets provide exceptional support while maintaining a clean and uncluttered aesthetic. They are ideal for modern and contemporary pergolas.
Advantages of Hidden Brackets:
- Concealed design for a clean aesthetic
- Exceptional support and stability
- Suitable for modern and contemporary pergola designs
Another innovative bracket solution is the adjustable bracket. These brackets allow for precise adjustments in the angle and height of the pergola beams. This flexibility enables the creation of pergolas with unique shapes and configurations. Adjustable brackets are particularly useful for pergolas with uneven terrain or complex designs.
Advantages of Adjustable Brackets:
- Precise adjustments for custom designs
- Flexibility for pergolas with uneven terrain
- Versatile for complex pergola configurations
In addition to these innovative solutions, there are numerous other creative bracket designs that cater to specific needs and preferences. For example, some brackets incorporate decorative elements, such as scrolls or carvings, to enhance the aesthetic appeal of the pergola.
These innovative pergola bracket solutions offer a wide range of advantages, including enhanced aesthetics, improved functionality, and greater design flexibility. By embracing these solutions, pergola enthusiasts can create truly unique and captivating outdoor structures that elevate their living spaces.
Last Point
As you venture into the realm of DIY pergola brackets, remember that with careful planning, precise execution, and a touch of creativity, you can transform your outdoor space into an oasis of comfort and style. Embrace the joy of crafting your own pergola, and let these brackets be the foundation of countless cherished moments under the open sky.

2 thoughts on “DIY Pergola Brackets: A Comprehensive Guide to Design, Installation, and Maintenance”