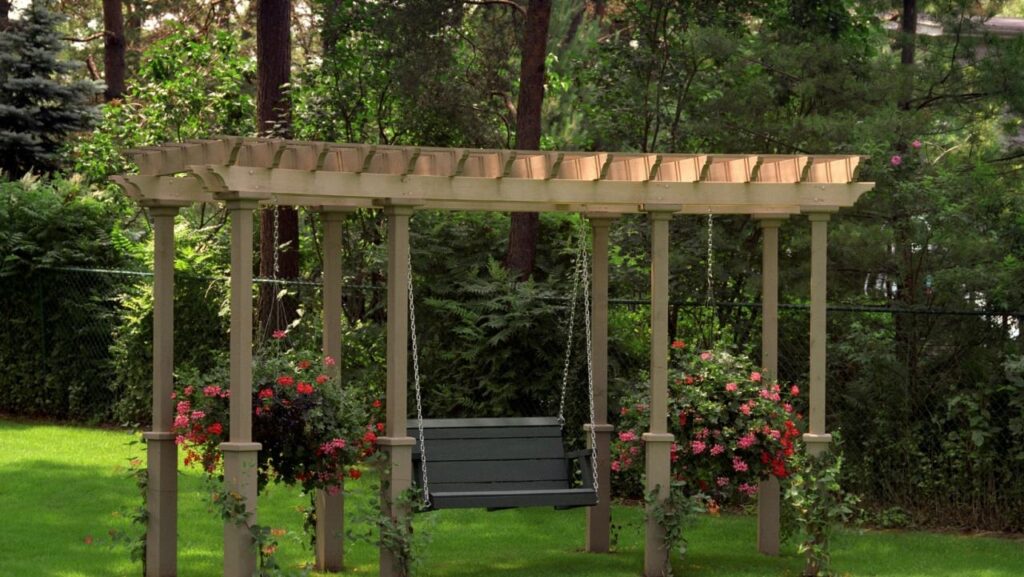
Embark on a journey to create your own backyard haven with a DIY pergola on a budget. This comprehensive guide will equip you with everything you need to know, from choosing materials and designing your structure to building it step-by-step and maintaining it for years to come.
Whether you’re a seasoned DIY enthusiast or a novice looking to spruce up your outdoor space, this guide will empower you to create a stunning pergola that enhances your backyard while staying within your financial means.
Materials for Building a DIY Pergola
Building a pergola on a budget requires careful selection of materials. Here’s a comprehensive list of materials needed:
Lumber: Pressure-treated lumber is the most cost-effective option, resisting rot and insects. Cedar and redwood are more durable but more expensive. Consider using composite lumber for low maintenance and durability.
Hardware
- Screws: Galvanized or stainless steel screws prevent rust and ensure a strong hold.
- Bolts: Use galvanized or stainless steel bolts for connecting beams and posts.
- Washers: Place washers under bolts to distribute the load and prevent wood damage.
Roofing
- Polycarbonate panels: Lightweight and durable, providing shade while allowing light to pass through.
- Corrugated metal: Inexpensive and easy to install, but can be noisy during rain.
- Fabric: Shade fabric is a budget-friendly option, providing shade and UV protection.
Other Essential Materials
- Concrete: For setting posts in the ground, providing stability.
- Gravel: For drainage around the posts.
- Stain or paint: To protect and enhance the appearance of the pergola.
Design Considerations for a DIY Pergola
Designing a DIY pergola involves several important considerations to ensure both aesthetic appeal and functionality. The size, shape, and style of the pergola should complement the available space, budget, and desired functionality.
Size and Shape
The size of the pergola should be proportionate to the available space and the intended use. A larger pergola can provide more shade and coverage, while a smaller one can be more compact and intimate. The shape of the pergola can vary from rectangular to square, octagonal, or even custom designs.
Style
The style of the pergola can range from traditional to modern. Traditional pergolas often feature columns and beams with decorative elements, while modern pergolas may have a more minimalist design with clean lines and simple materials. The choice of style should align with the overall aesthetic of the outdoor space.
Functionality
Consider the intended functionality of the pergola when designing it. If it is primarily for shade, the roof should be designed to block out sunlight effectively. If it is for entertaining, the pergola should provide ample space for seating and socializing. Additionally, the pergola can be integrated with other features such as a fire pit or outdoor kitchen.
3. Step-by-Step Guide to Building a DIY Pergola
Constructing a DIY pergola is a rewarding project that can enhance the outdoor space of any home. Here’s a detailed step-by-step guide to help you create your own pergola on a budget:
Preparing the Site
Begin by clearing the area where the pergola will be built, ensuring it’s level and free of obstacles. Mark the corners of the pergola using stakes and string, ensuring the measurements are accurate.
Installing the Posts
Dig four holes for the pergola posts, ensuring they are deep enough to provide stability. Place the posts in the holes and fill them with concrete, using a level to ensure they are upright.
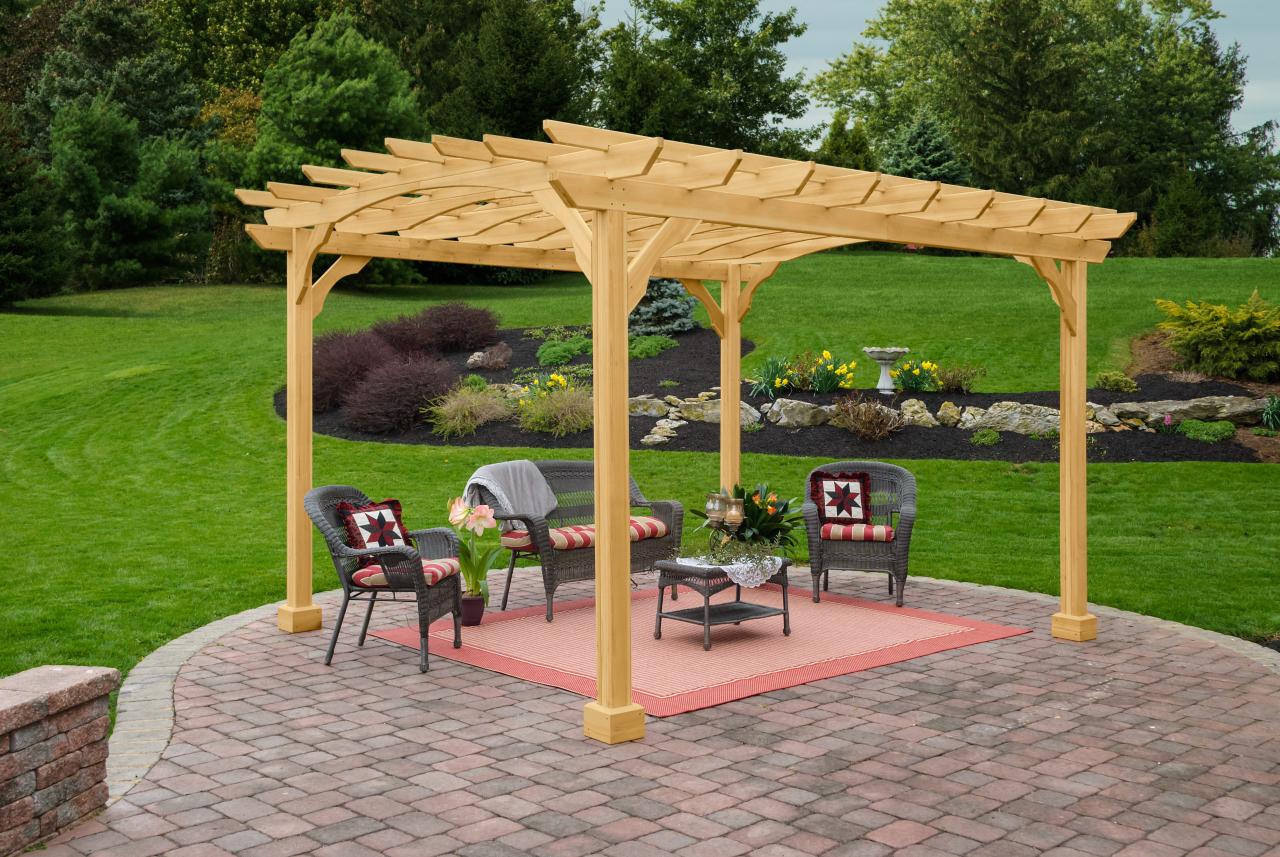
Building a pergola on a budget is possible with a little planning and creativity. One way to save money is to purchase a wooden pergola kit with a roof. These kits typically include all of the materials you need to build a pergola, including the posts, beams, rafters, and roofing materials.
They are also relatively easy to assemble, so you can save even more money by doing the installation yourself. Once you have your pergola built, you can enjoy the shade and privacy it provides for years to come. For more information on wooden pergola kits with a roof, visit Auroava.
Creating the Beam
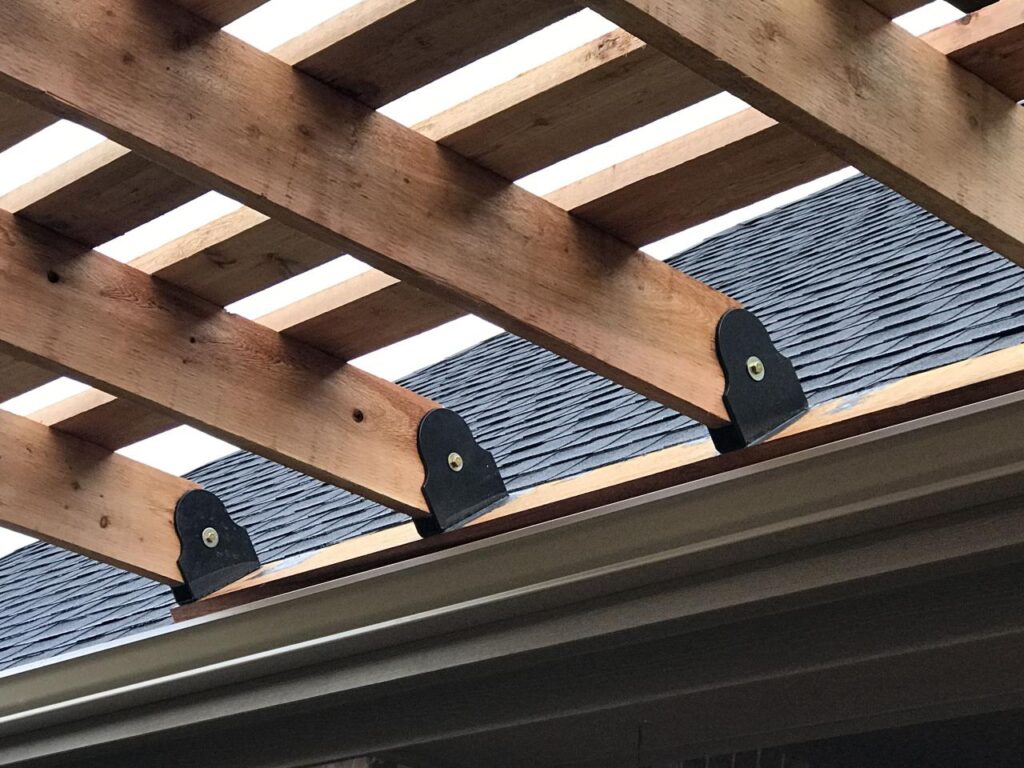
Cut the beams to the desired length and assemble them using screws or bolts. Attach the beams to the top of the posts, using joist hangers for support.
Adding the Rafters
Cut the rafters to the appropriate length and angle. Attach the rafters to the beams using screws or bolts, ensuring they are evenly spaced.
Installing the Roof
Choose a roofing material, such as polycarbonate panels or corrugated metal, and cut it to the size of the pergola. Secure the roofing material to the rafters using screws or bolts, ensuring it is weatherproof.
4. Cost-Saving Tips for Building a DIY Pergola
Building a DIY pergola on a budget is possible with careful planning and resourcefulness. Here are some practical tips to help you save money without compromising quality:
Material Selection, Diy pergola on a budget
- Use pressure-treated lumber: It’s durable and affordable, making it an excellent choice for outdoor structures like pergolas.
- Consider composite materials: While more expensive than lumber, composite materials are low-maintenance and can last longer, saving you money in the long run.
- Repurpose old materials: Check local salvage yards or online marketplaces for used lumber or other materials that can be reused for your pergola.
Construction Techniques
- Simplify the design: Stick to a basic rectangular or square shape to minimize materials and labor costs.
- Use fewer posts: Instead of placing posts every few feet, space them further apart and use crossbeams for support.
- Attach the roof directly to the beams: This eliminates the need for additional support structures, saving time and materials.
Strategies for Saving Money
- Shop around for materials: Compare prices from different suppliers to find the best deals.
- Negotiate with contractors: If hiring a contractor for certain tasks, negotiate the price and consider doing some of the work yourself.
- Build during the off-season: Contractors and suppliers often offer discounts during the winter or slower months.
5. Maintenance and Upkeep of a DIY Pergola
Regular maintenance is crucial to preserve the longevity and aesthetic appeal of your DIY pergola. Cleaning, staining, or sealing it periodically will protect it from the elements and enhance its lifespan.
Cleaning
– Regularly remove dirt, dust, and debris from the pergola’s surfaces using a soft brush or cloth.
– For deeper cleaning, use a mild soap solution and a sponge. Rinse thoroughly with water.
Staining or Sealing
– Apply a high-quality stain or sealant to the pergola to protect it from UV rays, moisture, and insects.
– Choose a stain or sealant that is compatible with the type of wood used for the pergola.
– Reapply the stain or sealant every few years to maintain protection.
Common Issues and Solutions
– Rot and decay: Inspect the pergola regularly for signs of rot or decay. If found, remove the affected wood and replace it with treated lumber.
– Insect infestation: Treat the pergola with an insecticide to prevent or eliminate insect infestations.
– Structural damage: Check the pergola’s joints and connections for any signs of damage. Tighten or reinforce loose joints as needed.
Wrap-Up: Diy Pergola On A Budget
Building a DIY pergola on a budget is a rewarding experience that adds value to your home and creates a beautiful outdoor living space. By following the steps Artikeld in this guide, you can enjoy the satisfaction of completing a project that not only looks great but also fits your budget.
So gather your tools, embrace your creativity, and let’s build the perfect pergola for your backyard oasis.

2 thoughts on “DIY Pergola on a Budget: Build Your Own Backyard Oasis”